October 18, 2012

Nursery's Ready...Come on Baby!

The final touches have been completed on Baby Gannon's Nursery...just in time for his due date, which is today...

Too bad he's not yet here to enjoy, but it gives me time to post the pictures!

So I know you've seen the paint job and the changing table makeover but there were two other major projects that we worked on: the mobile and the airplane picture. When you see them only one will actually look major, but I assure you the other one took forever too!

First, the mobile. This may not look like much but it took me pretty much all my pregnancy to complete as I am not all that craft-able without specific directions. Here is a link to the Pinterest mobile that started this obsession, but it didn't have templates or anything for me to go directly off of so I had a lot of improvising.

Honey drew me a template of a B-something or another plane. (No matter how hard I try to keep these planes straight I am doing a miserable job). He actually drew me 2 different ones, but doing both were leaps and bounds beyond my ability so we have all six of the same plane.

Overall I am really happy with it. Each plane is made of paper and balsa wood to make it more sturdy. And the little propellers really turn. In the end it probably cost less than $15 to make...not counting the gas of about 55 trips to hobby stores...but that is a whole other issue.

The other major project was inspired from this Pottery Barn picture on wood:

We really didn't want to spend $300 on it, but after I showed it to Honey he fell in love with the idea and got his heart set on having a B-17 on the wall because that was the plane his grandfather flew in the war.

So he found a wonderful gentleman on the internet that would let us use a photo he had, which we then tried to convert to 4 or 5 canvas panels.

Unfortunately, that proved VERY difficult because the size of the photo and the usual size of canvas panels we'd need and we gave up.

So I turned to again to the wonderful world of Pinterest. We found several pins on putting pictures on canvas but then found these great directions for transferring a picture to wood.

And here is how ours turned out...

Pretty amazing! It was a pretty time consuming process since it is like 6 feet long, but totally worth it. It probably cost about $50 for all the supplies, maybe not even that.  We just love it.

So here are a few shots of the whole room:


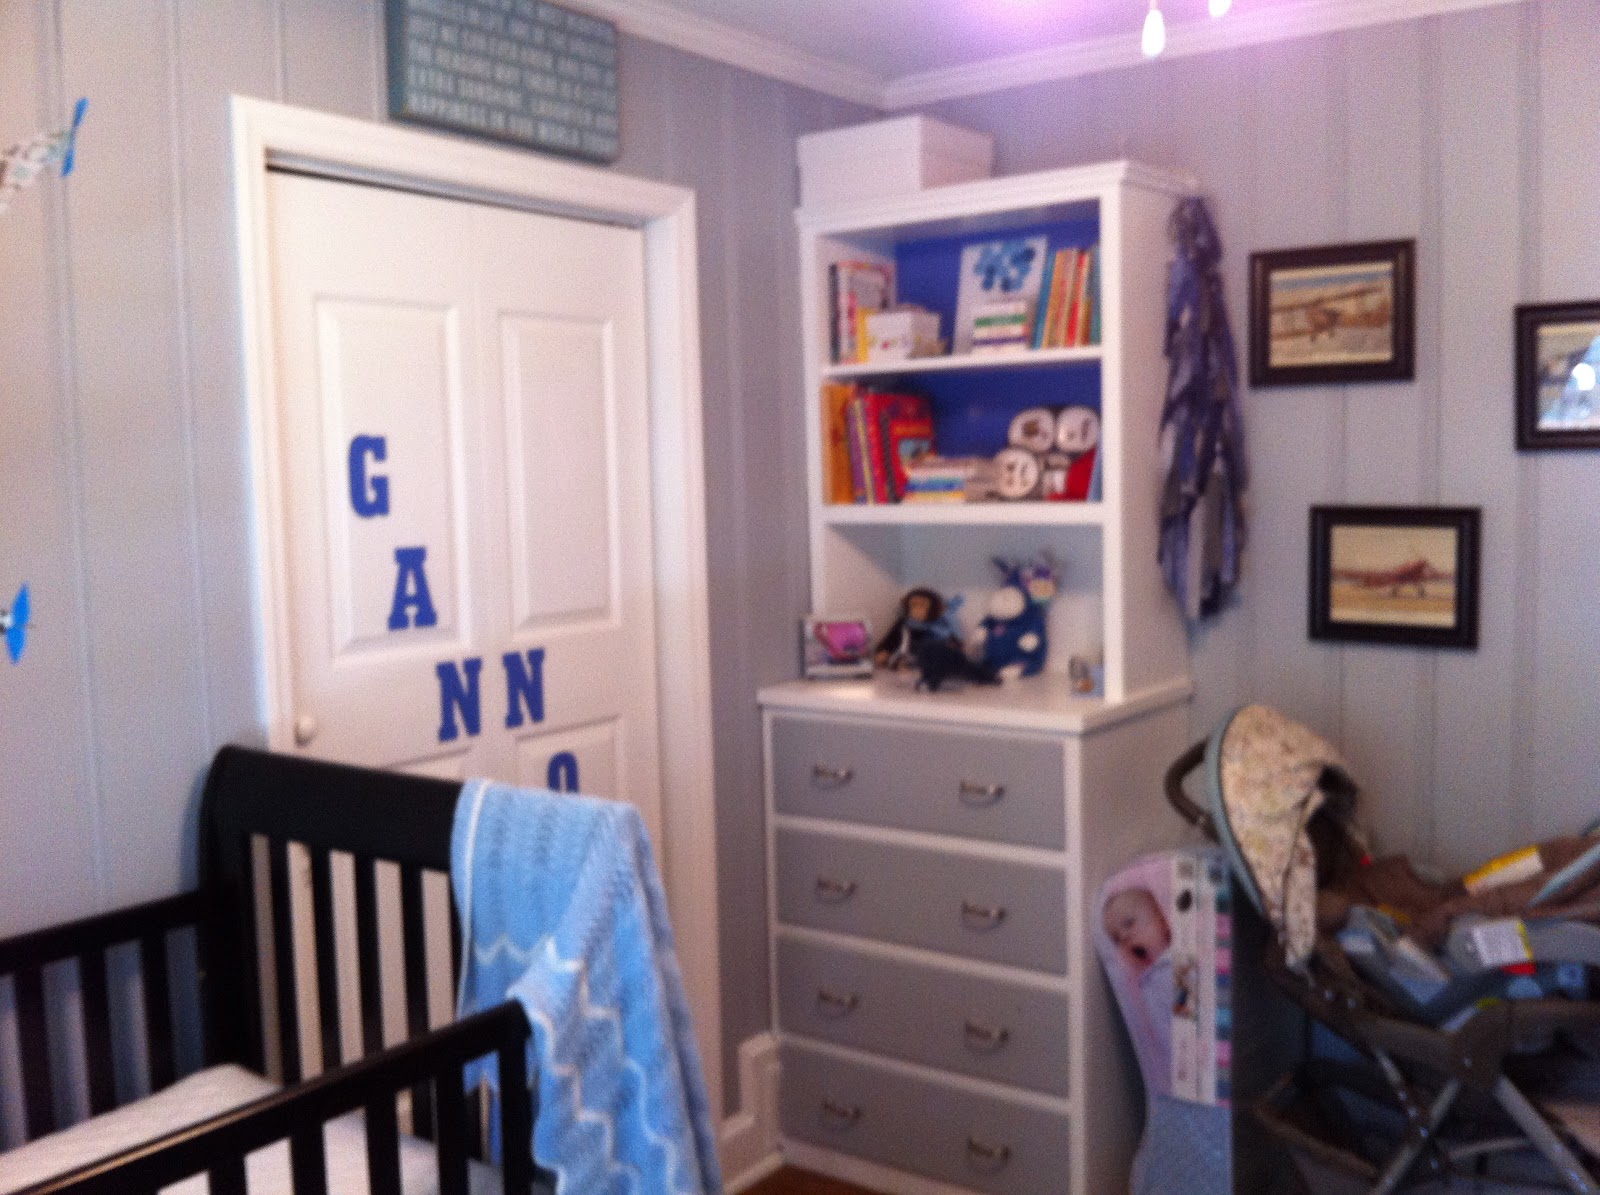
Now we just need the little guy to get here! Of course he will end up sleeping in our bedroom for the first couple of months, but I already love sitting in here to read so I am sure we will be spending a great deal of time in his nursery. 

It turned out just as I had hoped! 


September 29, 2012

My Manly-Man and His Candied Walnuts & Diaper Covers

For those of you who know my husband, he tends toward the manly-man side.

He loves guns. Hates musicals. Loves getting dirty. Hates the Kardashians. Loves wrestling with the dogs. Hates shopping for clothes.

Well the last couple of weeks he has had some time off so he's been very helpful around the house doing both manly things like making our toilet flush without the need to two hands and bicep muscles to push the lever down. And he has done more wifely duties like clean the oven and mop the floor so I don't have to on maternity leave. Let me just say here: I really married a keeper...I mean jackpot!!

Annnnnyway. Beyond these chores that I had added to his list, he also surprised me (and himself) with a couple of extra domestically cute actions...

Number 1: I came home from work last week to find him making candied walnuts.

Candied walnuts.

I have no idea what it even takes to candy a walnut because if I get to a recipe that calls for me to do that I immediately balk at the thought of an extra step and move right onto a new recipe. And to make it even better, he called it "easy" and "fun"!

And they were some pretty stinking good walnuts!

Number 2: He had a friend come over to watch a movie and pulled out the cloth diapers we had purchased earlier in the day to show off to his friend.

Mind you, this friend does not have kids...is not married even...is also more of a manly-man...and I swear did not ask anything about diapers to precipitate this show and tell.

Honey contends his friend did indeed ask about the diapers...but I'm not so sure. Honey did most of the picking out of cute diaper covers at the store and I think he was just very excited.

Again I tell you I hit the JACKPOT with him!! He is my cute manly-man and still all domestic!

September 22, 2012

Viola! Changing Table Makeover

So if you read my post about painting the nursery, I promised you I'd show you the changing table makeover. Here is the changing table before. And you can see sitting on it the lovely product I used for this transformation...Rustolium Furniture Transformation.


The Rustolium product is pretty nifty because you don't have to sand or scrape or strip the old paint off, which was really important to me since I didn't want all the chemicals of stripping.

Don't get me wrong, I like to strip...wood that is...or maybe I should say furniture...

ANYWAY, I have refinished many pieces of furniture the old fashion way, but didn't have the time or inclination to do all that work here so this product takes out a lot of that hassle.

After the gloss
So in this handy box they give you some cleaner/primer stuff to wipe everything down with. Then you have a base coat that you have tinted at the store based on the color you want to end up with. Then you have some cool gloss to make the base coat more unique, darker, etc. And finally a top coat.

We went with espresso to match the crib and I did a pretty heavy dose of the gloss to make it as dark as possible.

I loved that the gloss almost mimicked a wood grain since I hadn't actually done the full stripping to get to the wood.

Some things to think remember if you ever use the product...

  1. The base coat is VERY fragile...seriously putting a piece of paper towel down would take off the base coat.
  2. So you definitely need 2 coats of it and then be very very careful.
  3. Like sugar in your coffee, it is always easier to put more gloss on than to take it off after it dries.
  4. Plan on doing two coats of the top coat and don't try to touch up with this, just redo the whole section if you need to.
Other than that everything went really well and this is the final product:


Overall I am very happy! I wasn't sure about keeping the knobs white but they've grown on me.

And the motivation to spray paint them brown has disappeared entirely :)


And at this point we have two more projects...a wood transfer of a 5 ft long plane image and a DIY plane mobile...and one month left to do them both...

I promise to post them once they are done as well as final nursery photos!!

Related Posts Plugin for WordPress, Blogger...