September 22, 2012

Viola! Changing Table Makeover

So if you read my post about painting the nursery, I promised you I'd show you the changing table makeover. Here is the changing table before. And you can see sitting on it the lovely product I used for this transformation...Rustolium Furniture Transformation.


The Rustolium product is pretty nifty because you don't have to sand or scrape or strip the old paint off, which was really important to me since I didn't want all the chemicals of stripping.

Don't get me wrong, I like to strip...wood that is...or maybe I should say furniture...

ANYWAY, I have refinished many pieces of furniture the old fashion way, but didn't have the time or inclination to do all that work here so this product takes out a lot of that hassle.

After the gloss
So in this handy box they give you some cleaner/primer stuff to wipe everything down with. Then you have a base coat that you have tinted at the store based on the color you want to end up with. Then you have some cool gloss to make the base coat more unique, darker, etc. And finally a top coat.

We went with espresso to match the crib and I did a pretty heavy dose of the gloss to make it as dark as possible.

I loved that the gloss almost mimicked a wood grain since I hadn't actually done the full stripping to get to the wood.

Some things to think remember if you ever use the product...

  1. The base coat is VERY fragile...seriously putting a piece of paper towel down would take off the base coat.
  2. So you definitely need 2 coats of it and then be very very careful.
  3. Like sugar in your coffee, it is always easier to put more gloss on than to take it off after it dries.
  4. Plan on doing two coats of the top coat and don't try to touch up with this, just redo the whole section if you need to.
Other than that everything went really well and this is the final product:


Overall I am very happy! I wasn't sure about keeping the knobs white but they've grown on me.

And the motivation to spray paint them brown has disappeared entirely :)


And at this point we have two more projects...a wood transfer of a 5 ft long plane image and a DIY plane mobile...and one month left to do them both...

I promise to post them once they are done as well as final nursery photos!!

August 20, 2012

What the South is Missing

I may be making an overreaching statement here. After all I have lived in only one place in the South so this may be a problem with the area I am in rather than the whole South, but I think it is a persistent problem.

The South doesn't appreciate coffee enough.

I've said it.

I may have to drive like 5 or 6 miles for a coffee shop...not acceptable. And I don't mean when I am in the country I have to drive 6 miles. I mean when I am in a huge shopping area there is not one coffee shop. Not one Starbucks. Nothing. Not acceptable.

I think it has to do with southerners crazy love of sweet tea. Starbucks are hard to find but BoJangles with famous sweet tea are on every corner.

For the first time in my life, since I left my one-stop-light town, I have to drive nearly 10 minutes from work to get to a coffee shop. And I hardly drink coffee now and it is usaully decaf or 1/2 caf.

Gone are the days I walked across the street for coffee. Gone are the days when every grocery store also has a convenient coffee shop. Gone are the days of rich coffee smells and warm caffeine highs. Gone.

And I am pretty sure my one-stop-light town has more coffee shops than Fayetteville. And it only has like 12,000 people in the whole county.

Sweet tea sucks.

I miss my coffee.

August 6, 2012

The Nursery...Paint is Done!

So over the last...well, forever...we have been working on painting the nursery. Personally I think I have looked as forward to this as to actually having a baby. I LOVE painting, but usually live in rentals where it is not allowed. Luckily here we had the okay to paint away.

This is how the room looked before:


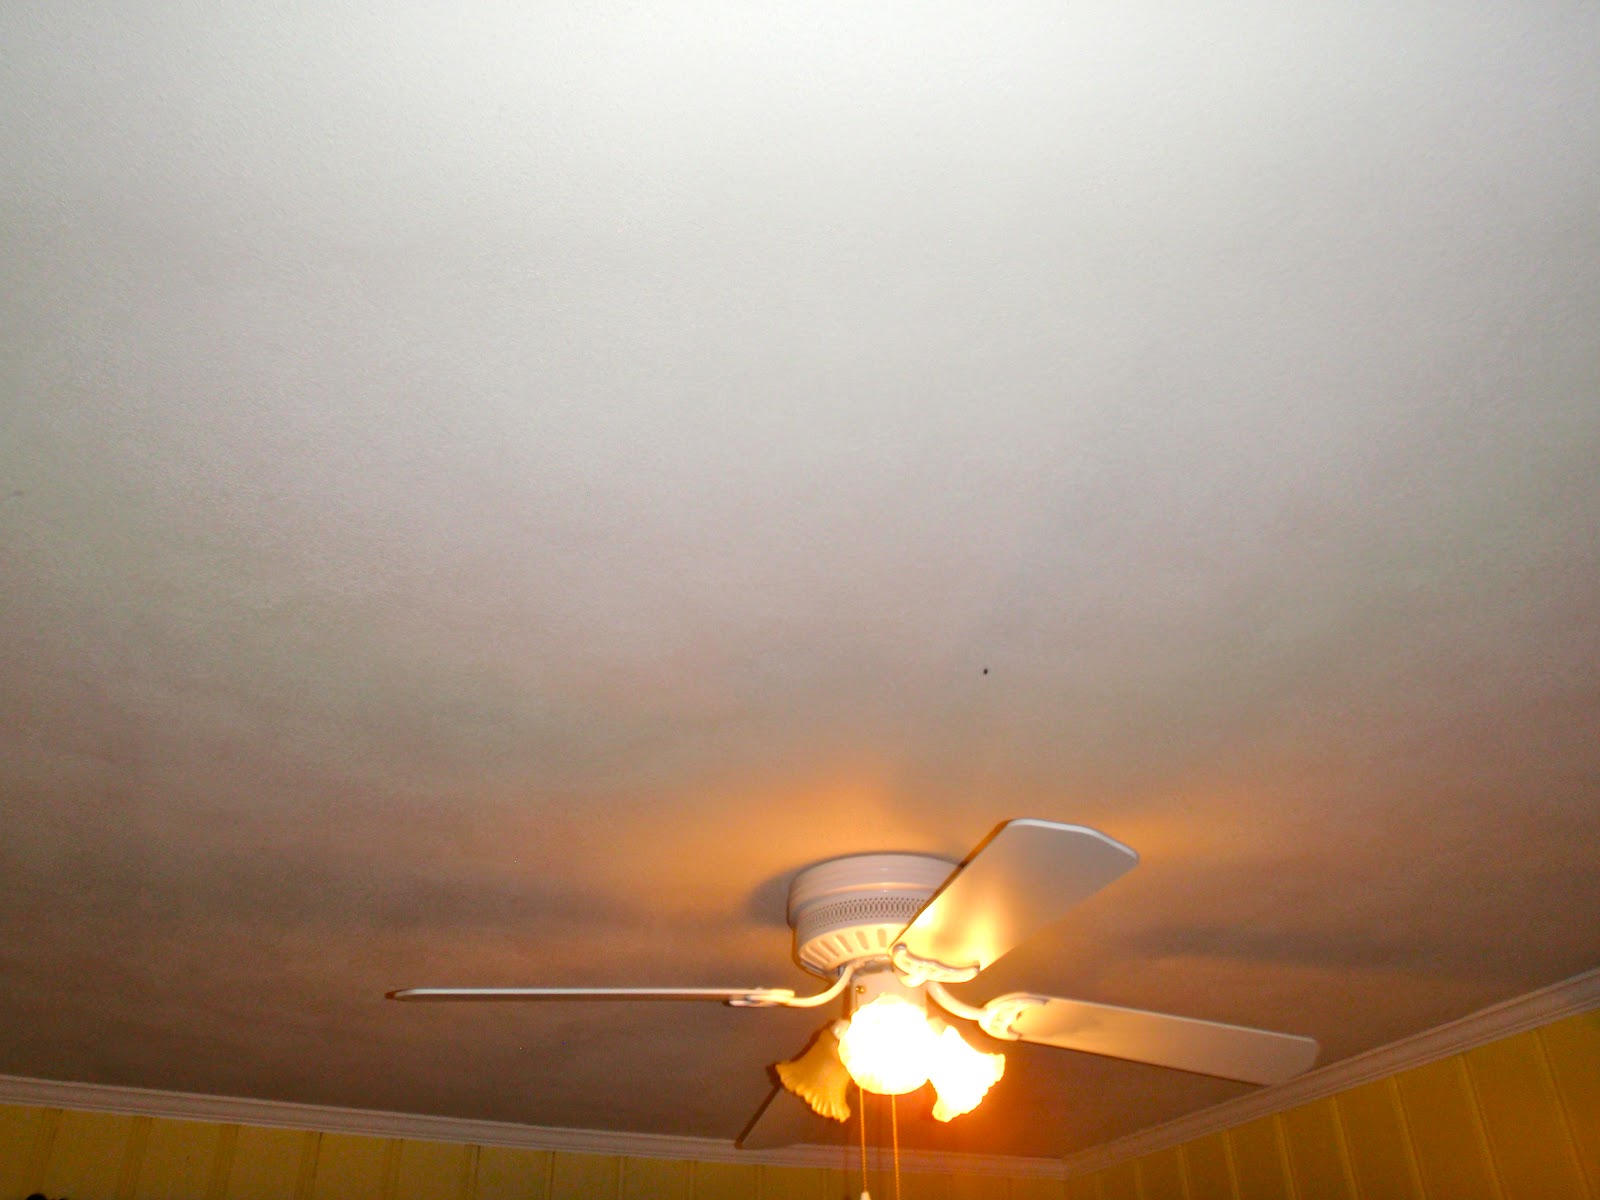
The yellow wasn't a becoming shade at all, so changing that was a no-brainer. You can also see a built in dresser thing that had cabinent doors on the top that I took off to make a bookshelf. The other thing about this room was the ceiling...

I don't think this picture does justice to how grey and dingy it was...but take my word for it. It was gross.

So first Honey and I came to an agreement on the exact shade of grey we wanted the room. This conversation went like this:

Me: "Honey which of these greys do you like best. I think the darkest one is too dark."

Honey: "Hmm I like this one or this one." (He pointed to the two 2nd darkest)

Me: "Well I like this one that isn't so dark but isn't the lighest one either."

...Skip to the next day...

Me: "So I think we are going with the grey I liked best. Is that okay? I really like it better than the others.

Honey: "Sure. Whatever."

I love him!


So once we (I) picked the color we got to work on repainting the ceiling and making the walls grey.


And viola! Here is the lovely grey room. And just the perfect shade of grey, I might add. Not too light and not too dark.


I also wanted to do something fun with the built in dresser thing so I started by painting the drawers and then added color on the back of the bookshelves to add a little accent color to the whole peice.


So there you go. We have it all painted! 

Now for the next project--refinishing the changing table to an espresso color to match the crib. I will keep you posted :)

Related Posts Plugin for WordPress, Blogger...